06 | Feb
clevpro
06 Feb, 2025
How to Create Images with AI: A 2025 Guide for Beginners
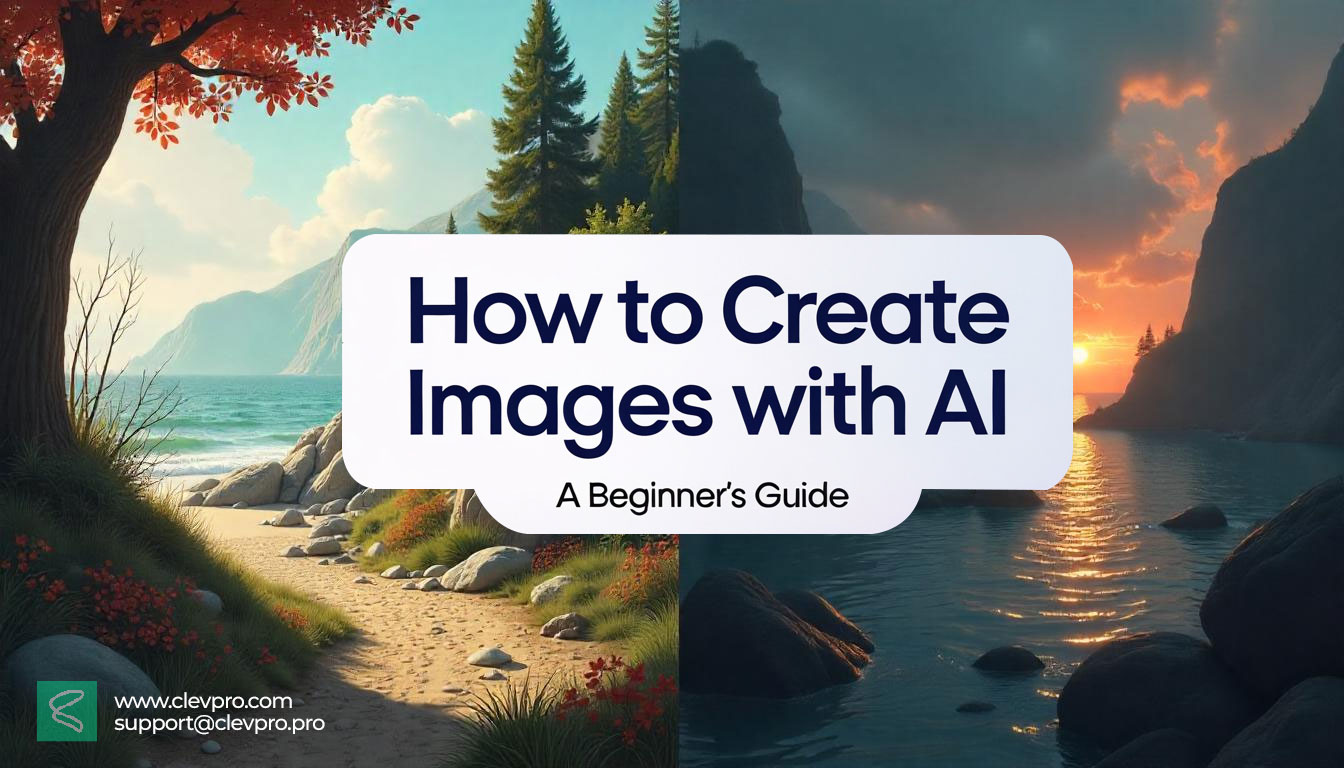
Ever wished you could design eye-catching graphics for your blog, social media, or small business—but don’t have the time, budget, or design skills? You’re not alone. Thanks to AI image generators, anyone can now create stunning visuals in minutes, even if you’ve never touched Photoshop.
In this guide, I’ll walk you through exactly how to create images with AI, step-by-step. No jargon, no fluff—just actionable tips, free tools, and real-life examples. Let’s dive in!
Why Use AI to Create Images? 🤖
Before we get to the “how,” let’s talk about the “why.” AI image tools are exploding in popularity because they:
- Save time: Turn ideas into visuals in seconds.
- Democratize design: No need for expensive software or hiring a designer.
- Spark creativity: Experiment with styles you’d never try manually.
- Boost engagement: Social media posts with custom images get 3x more clicks.
Step 1: Pick Your AI Tool (Free & Paid Options)
You don’t need a fancy tool to start. Here are my top picks for beginners:
1. Canva’s AI Image Generator
- Best for: Social media graphics, blog banners, quick edits.
- Why I like it: Super easy to use. Type a prompt like “a minimalist laptop on a wooden desk with plants” and get instant results.
2. DALL·E 3 (by OpenAI)
- Best for: Realistic photos, surreal art, and creative concepts.
- Pro tip: Use descriptive prompts like “a neon-lit cyberpunk city in the rain, 4K hyperrealistic.”
3. MidJourney
- Best for: Artistic, dreamy visuals (think book covers or album art).
- Example prompt: “A fairy-tale castle floating in the clouds, painted in watercolor style.”
4. Bing Image Creator
- Best for: Free, no-signup-required tool powered by DALL·E.
- Try this: “A cute corgi wearing a superhero cape, cartoon style.”
Step 2: Write a Killer Text Prompt 🎯
The secret to great AI images? Specific prompts. Here’s how to nail it:
- Describe the subject: “A cozy coffee shop with vintage decor” → “A rustic coffee shop with brick walls, hanging Edison bulbs, and a steaming latte on a wooden table.”
- Add style details: Use words like “3D render,” “oil painting,” “minimalist flat design,” or “80s retro.”
- Set the mood: “Sunset lighting,” “mysterious fog,” “vibrant neon colors.”
Bad Prompt: “A mountain.”
Good Prompt: “A snow-capped mountain under the Northern Lights, reflected in a crystal-clear lake, digital art style.”
Step 3: Refine & Customize Your Image
Most AI tools let you tweak the results. For example:
- Change dimensions: Resize for Instagram (1080x1080) or Pinterest (1000x1500).
- Edit colors: Make the image brighter, darker, or swap color palettes.
- Remove/add elements: Use Canva or Photoshop to delete unwanted objects.
Step 4: Save & Use Your Image (Legally!)
Before hitting download:
- Check licensing: Some tools (like DALL·E) let you use images commercially; others don’t.
- Credit if required: MidJourney asks for attribution in some cases.
- Optimize for SEO: Save the file with a keyword-rich name (e.g., AI-generated-coffee-shop-design.jpg).
5 Pro Tips for Better AI Images 🔥
- Steal Like an Artist: Browse Pinterest or Behance for inspiration, then add your twist.
- Use Negative Prompts: Some tools let you exclude elements (e.g., “no text, no people”).
- Layer Images: Combine AI-generated visuals with photos using Canva.
- Stay Ethical: Avoid creating deepfakes or misleading content.
- Practice: The more prompts you write, the better you’ll get!
Free Alternatives to Try Today
- Bing Image Creator: Free, fast, and no login needed.
- Craiyon: Simple tool for quick ideas.
- Stable Diffusion: For tech-savvy users who want customization.
Final Thoughts
Creating images with AI isn’t cheating—it’s a skill. Whether you’re a blogger, marketer, or hobbyist, these tools can save you hours and unlock creativity you never knew you had.
So, what’s your first project? A Instagram post? A blog header? Share your creations in the comments! 🚀


